
Article
Get Started Get Started Access Now

Get exclusive resources, gig management tips, and tools straight to your inbox.
A Guide To
Building a clear and organised setlist is one of the most important parts of preparing for a gig. Your setlist doesn’t just guide your performance. It helps your whole team stay in sync, makes transitions smoother, and gives sound and lighting engineers the information they need to run the show properly.
In this guide, we’ll walk you through how to build your setlist inside Stage Portal, link it to your gigs, and share it with your band and crew.
A great setlist does more than list song titles. It helps you plan the energy and flow of your performance, avoid awkward pauses or tuning breaks and keeps everyone on stage synced. It is also a great way to give the tech team a clear view of cues and transitions. A clear record of setlists is also a great way to stay ontop of any reporting for example to PRS.
Often bands or artists will make a setlist, put it in a drive, print it out and forget about it but Stage Portal is built to fix that.
In this short guide, you’ll learn how to:
Inside Stage Portal, setlists are clean, shareable, and connected to your events, so everyone is aligned before you even arrive at the venue.
Setup time: 5–10 minutes
To build a setlist, you’ll need:
Once you're logged in, follow the steps below.
Step 1: Go to the Setlists Section
From your artist dashboard, navigate to band you want to create the setlist for and select Setlists in the top menu menu.
Here you’ll see all of your existing setlists and the option to create a new one.
Add New.
Step 2: Give Your Setlist a Name
Choose a clear, recognisable title, something like:
This makes it easy to track which setlist was used for which show.
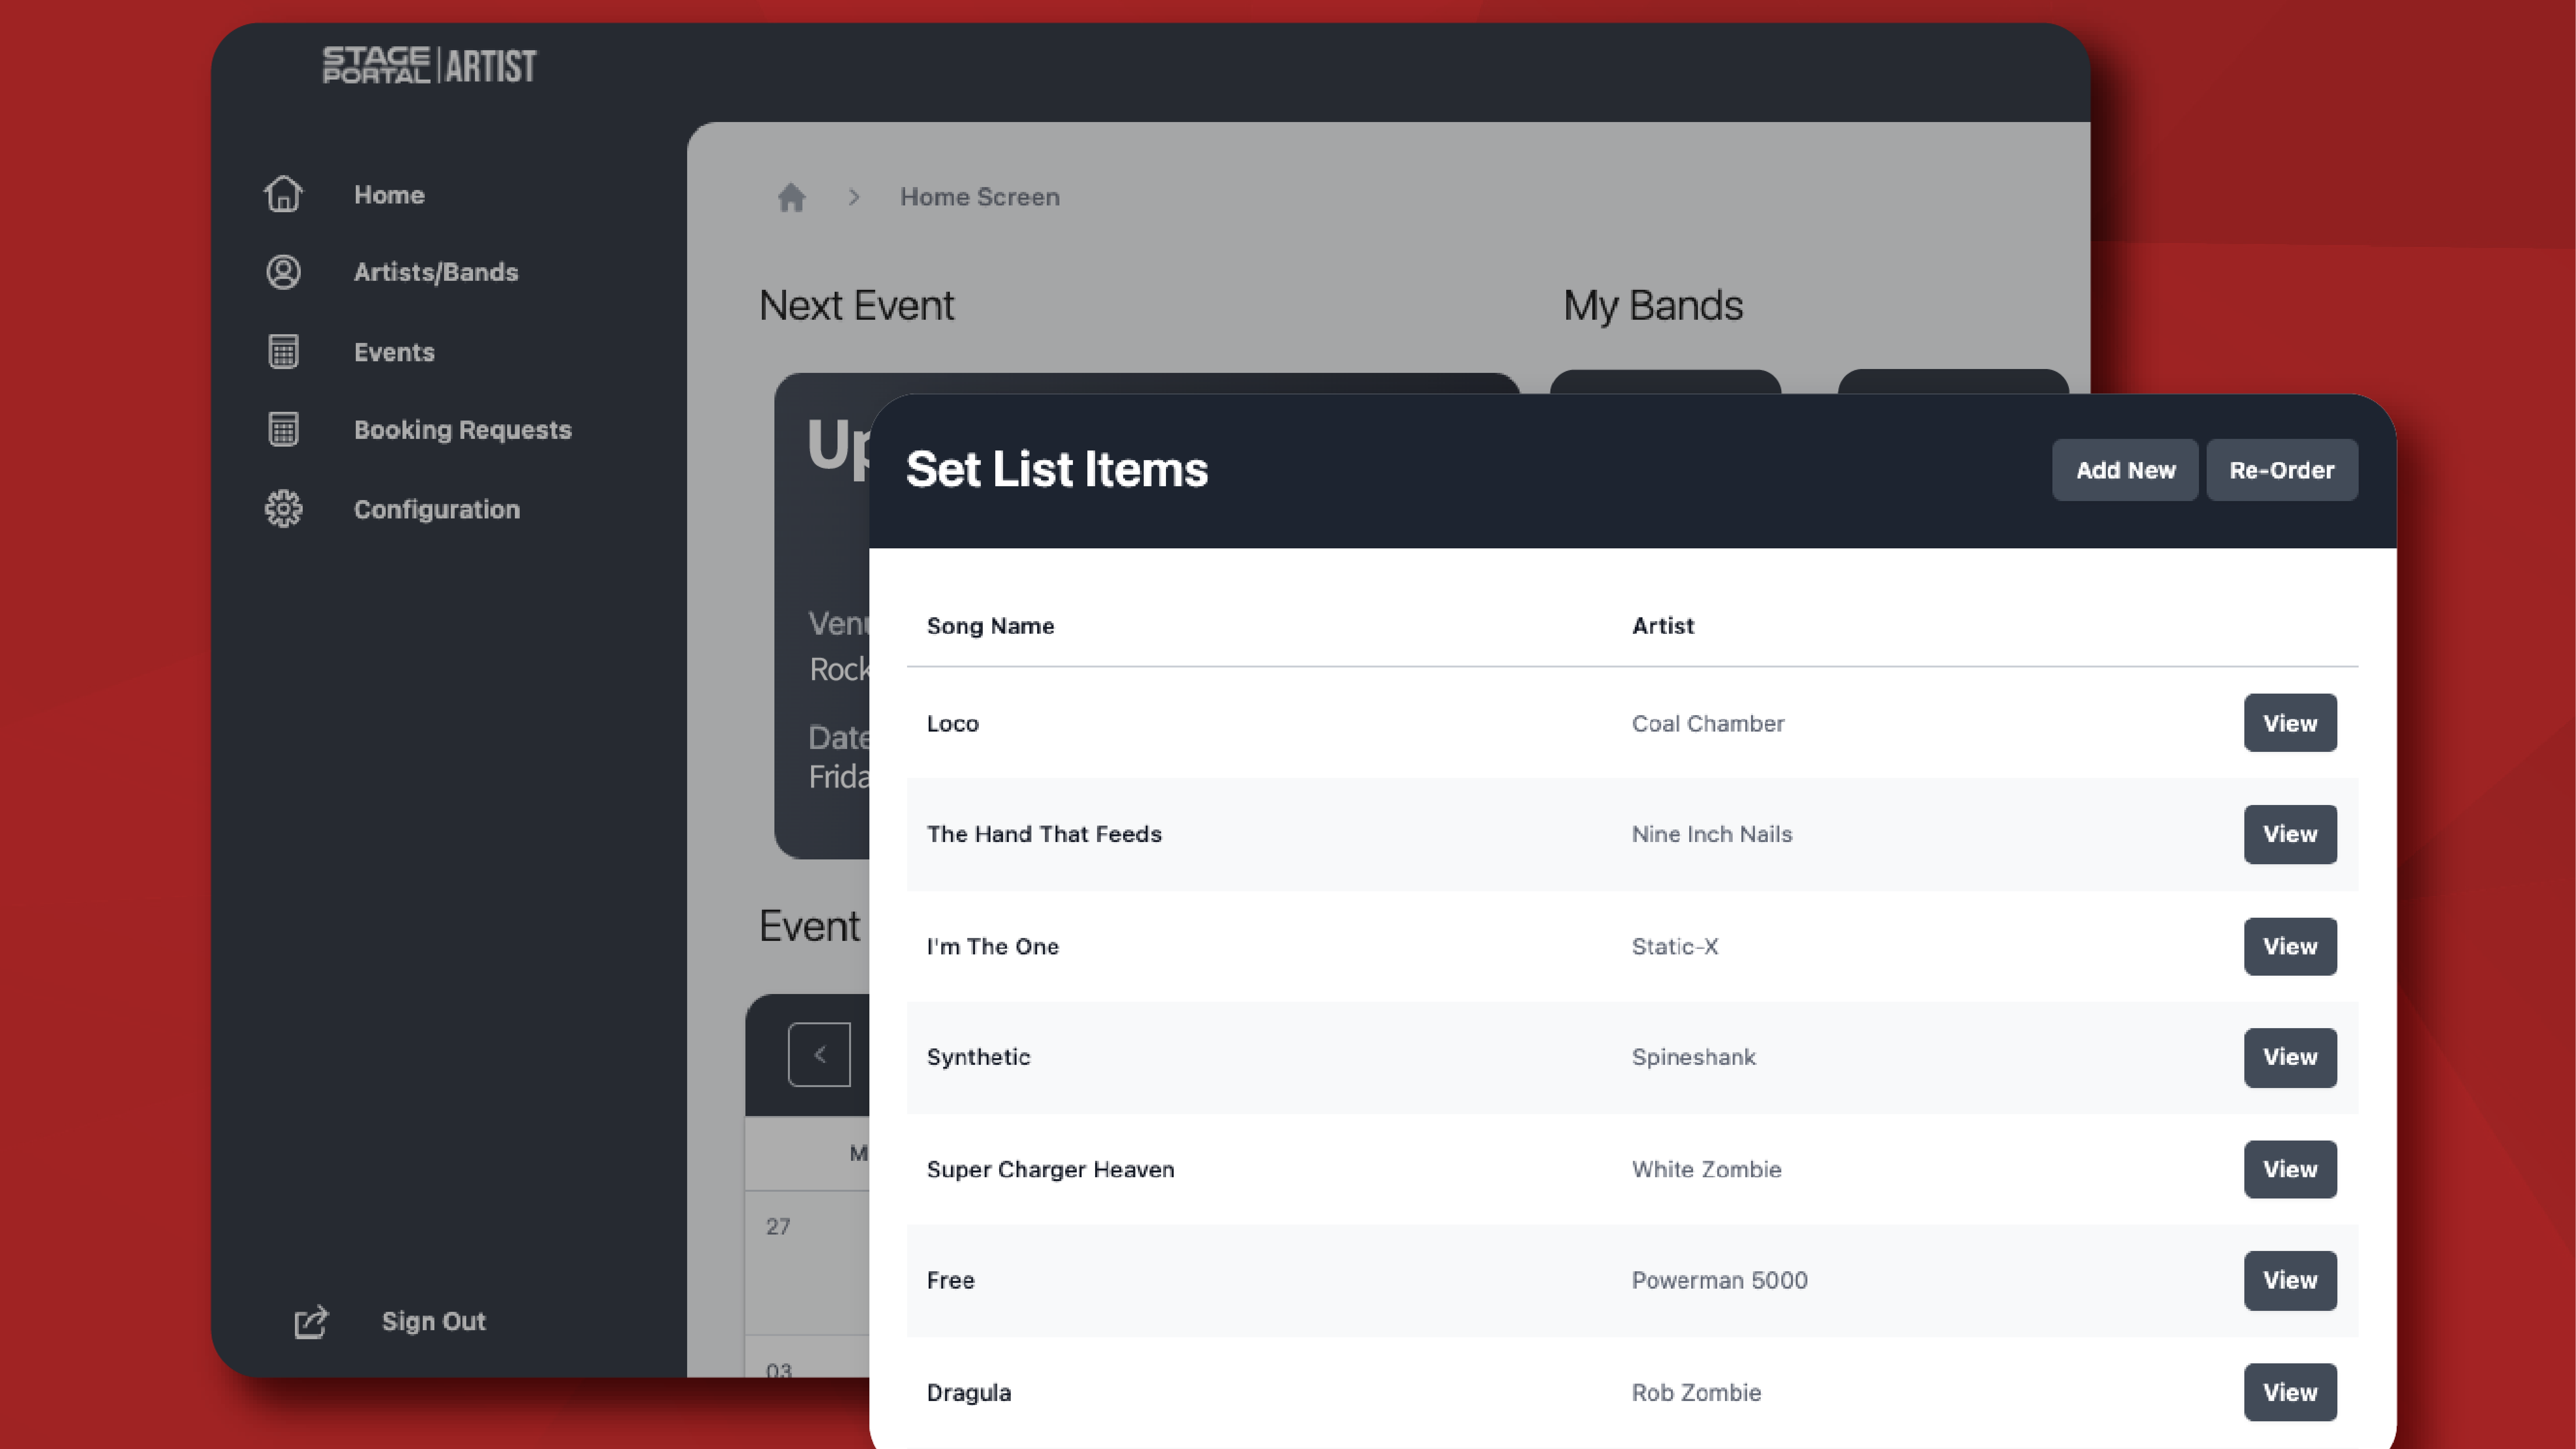
Step 3: Add Your Songs
Start adding your tracks one by one. For each song, you can include:
Song title and Artist
Step 4: Add Additional Elements
Once you have added your songs, you can then add additional notes for crowd interaction, guitar changes etc for each one you can add a time duration.
Step 5: Save, Review and Download Your Setlist
Once you’re happy with your setlist, hit Save. The system will calculate your set duration so you can see if you are over or under.
Your band can then all access the setlist in the work space and you can duplicate it to create variations for different show types. Finally you can download the setlist if you wish to print it off.
Step 6: Link Your Setlist to a Gig
To properly prepare for your next show, link your setlist directly to the event.
Go to:
Events → Select Event → Setlist → Add Setlist
This keeps all your show info, rider, stage plot, setlist, assets, in one place, ready to be sent to the venue or crew.
If you would like some top tips on how to build a professional setlist check out our guide here.
👉 How to add your band in Stage Portal
👉 How to Add Gigs and Build Your Band Calendar in Stage Portal
👉 How to Build Your Rider in Stage Portal
👉 How to Create Your Stage Plot
👉 How to add expenses
Discover the latest insights.